

This is a visually arresting, gooey, warm appetiser, and your guests will be so impressed when they see it. I saw this a few weeks ago from Seasons & Suppers website, and this dish is adapted from their Warm Skillet Bread and Artichoke Spinach Bread Recipe. I've made my own variations by making the buns from a combination of whole wheat and bread flour (to make it healthier), and I've made the dip with cheese, caramelised onion and bacon. If you prefer the vegetarian version, just omit the bacon.
This recipe also contains some tips for bread making which I learned from local bread making classes in Singapore, as well as from Le Cordon Bleu Boulangerie class.
WHOLE WHEAT SKILLET BUNS WITH CARAMELIZED ONION & BACON CHEESE DIP
Serves 8 to 10
Bread:
2 cups bread flour
1 cup whole wheat flour
2 teaspoons yeast
1 tablespoon honey
1 teaspoon salt
1 cup milk
2 tablespoons butter
Sesame seeds, optional (to sprinkle on the bread)
Dip:
2 cups onions, minced
1 whole head of garlic, minced
1 teaspoon brown sugar
splash of balsamic vinegar
2 rashers of bacon, chopped finely
150 grams cream cheese, softened at room temperature (I used the spreadable kind; garlic and herb flavour; this is about half a block if you're using a block of cream cheese)1 cup sour cream
1/2 cup mayonnaise
1 tablespoon sriracha sauce
1 teaspoon chili flakes
1 teaspoon freshly ground pepper
1/2 teaspoon paprika
1/4 cup freshly grated Parmesan cheese + some for topping
1/4 cup shredded mozzarella cheese + some for topping
salt to taste
Procedure:
1. Begin by making the bread. Since I'm making bread from scratch, I start around 3 hours from serving time. Activate the yeast by melting the butter in a pan, and adding the milk. Heat to about 110 to 115F. Transfer it to a large bowl, and add the honey (to feed the yeast). Sprinkle the yeast, mixing well with a wire whisk. Set aside. It should be frothy and will rise, and this shows that the yeast is alive.
(Tip: Don't heat the milk too hot, not more than 115F, or it will kill the yeast. If you do not have a thermometer to do this, the fast and easy way to test the milk is to put a clean finger into it, and check if you can keep it there for 5 seconds).
2. In another bowl, mix the flours with a spoon or wire whisk. Make a well in the centre, pour the yeast/milk mixture and start mixing with your hands. When it is clumpy, add the salt and knead further.
(Note: Salt kills yeast, so I always like adding the yeast to the flour first, to make sure it's integrated, before adding the salt.)
The dough should start getting shaggy and rough. Put the dough onto a clean surface, made moist by some oil. Knead by "folding" the perimeter of the dough into the centre, using your fingertips, then pressing the dough with the heel of your palm to push it out away from you. This helps to develop the gluten. Work the dough for about 10 minutes until it is smooth. Shape the dough into a tight ball, tucking it into the centre, like a bud. Get the bowl where you mixed the flours and brush it with oil, up to the rim. Put the dough ball back into it (seam side down) and cover with plastic wrap.
(Tip: For a more convenient way to do this, get a disposable plastic shower cap---yes, a shower cap---and cover the bowl. That's why whenever we travel, I always ask for extra shower caps from Housekeeping!)
 |
| Disposable, plastic shower caps have another purpose in baking. I like to use them to cover the bowl of dough to allow it to rise. Get those extra shower caps from Housekeeping everyday, quick! |
Allow the dough to rest until it rises and doubles in size, about 1.5 to 2 hours, depending on the warmth of your kitchen.
(Tip: If you want to accelerate this process, use what I call the "Warm Oven Tip": turn on your oven and once it reaches the temperature of 200F, turn off the oven and leave it with the light on. Then put in your covered bowl with the dough. It should rise faster. Keep in mind though that bread that rises over a long period of time has a richer flavour. But for the purpose of this skillet buns with dip, that's not so important.)
3. When ready, divide the dough into 16 pieces. An easy way to do it would be to divide it into 4 large pieces, then cut each piece into four. Roll each of the 16 pieces into a round shape.
 |
| You can weigh the balls into four pieces of equal weight. But I just eyeballed it this time. |
 |
| Cut each piece into four. |
 |
| Roll each piece into a ball. |
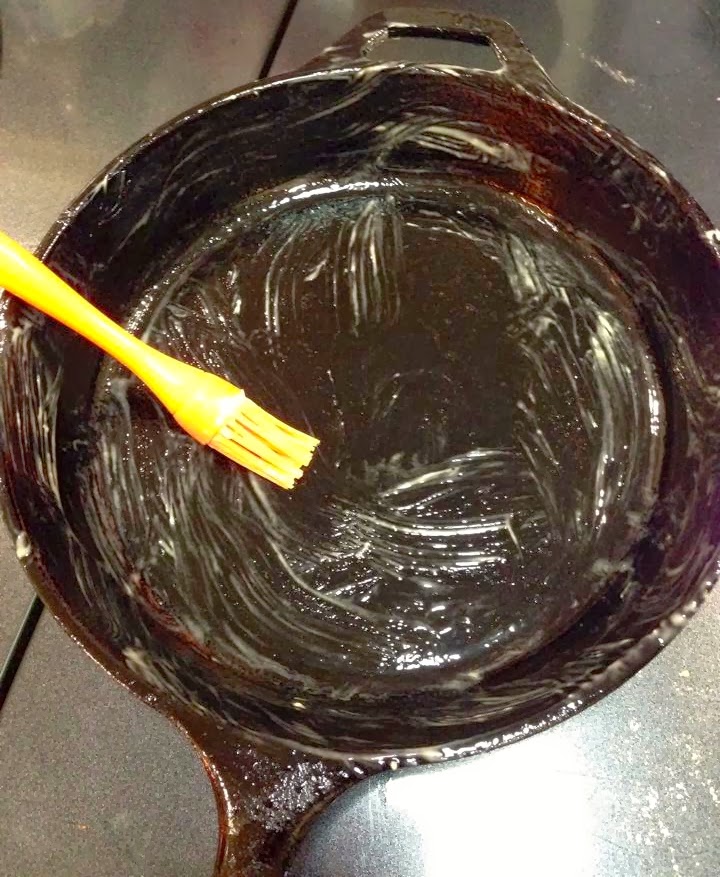
4. Get your skillet (I used my Lodge Cast Iron Skillet for this one) and brush it generously with butter.
5. Get a small bowl (this one had a 5" diameter), brush the outside and the rim with the butter, and put it in the centre of the bowl. (This will stop the bread from rising and encroaching into the space for the dip).

6. Get the balls of dough and put it on the skillet, around the bowl. Pack it in evenly, but handle the dough gently.

Cover the skillet with plastic wrap (or the shower cap!) to enable the dough to rise a second time. (If you're using the warm oven tip, put it back into the oven).

7. In the meantime, prepare the dip. With a little oil, sauté the bacon until brown but not too crispy. Drain and set aside.

8. Start caramelising the onions by sautéing them in the oil from the bacon. You'll find that 2 cups of onions seems a LOT, but after caramelising them, it really is not much. See the photos below. This process takes about 15 to 20 minutes. Toward the end of the process, add the teaspoon of brown sugar and the splash of balsamic vinegar. Set aside to cool.

Mix the rest of the dip ingredients with the bacon and the caramelised onions in a bowl.
9. Once the dough balls have doubled in size, remove the plastic wrap. Remove the bowl in the middle of the skillet. Do this very gently, making sure that you don't poke the bread.

10. Spoon the dip into the space in the centre of the pan. Dampen (don't make it soppy!) a pastry brush with water, and brush the top of the bread lightly. This is to make the cheese (and in this case, sesame seeds) to stick to the bread later.

11. Put some grated cheese, pepper and paprika on the top of the dip. Put some grated cheese and sesame seeds on top of the bread.

12. Put the skillet into the preheated oven (350F) and bake for about 15 to 20 minutes, in the centre of the oven, until the bread is firm and light brown. Take it out, and grate more cheese on top of the bread and dip. Adjust the rack to the top third of the oven, and switch to broil mode. Put back the skillet into the oven and bake for 5 to 7 minutes more, until the bread is a golden brown, and the cheese is bubbling.

Serve immediately. Make sure you have a thick trivet underneath the skillet and you wrap the handle with a thick cloth or silicone holder since the skillet is very hot. You don't want any injuries to spoil how impressed people will be with you and your dish. :)
No comments:
Post a Comment